I’m all about keeping it simple, when it comes to DIY. To me it’s about using the best ingredients and having control over what I’m using, but if it’s too complicated I know myself and I won’t do it, so if you like keeping it real and keeping it easy, this is the place for you!
For a Spa Day Everyday in the Comfort of your own Home!
For a Spa Day Everyday in the Comfort of your own Home!
If the dry winter air has been wreaking havoc on your skin or you would like a natural way to combat breakouts, you have to give this a try!
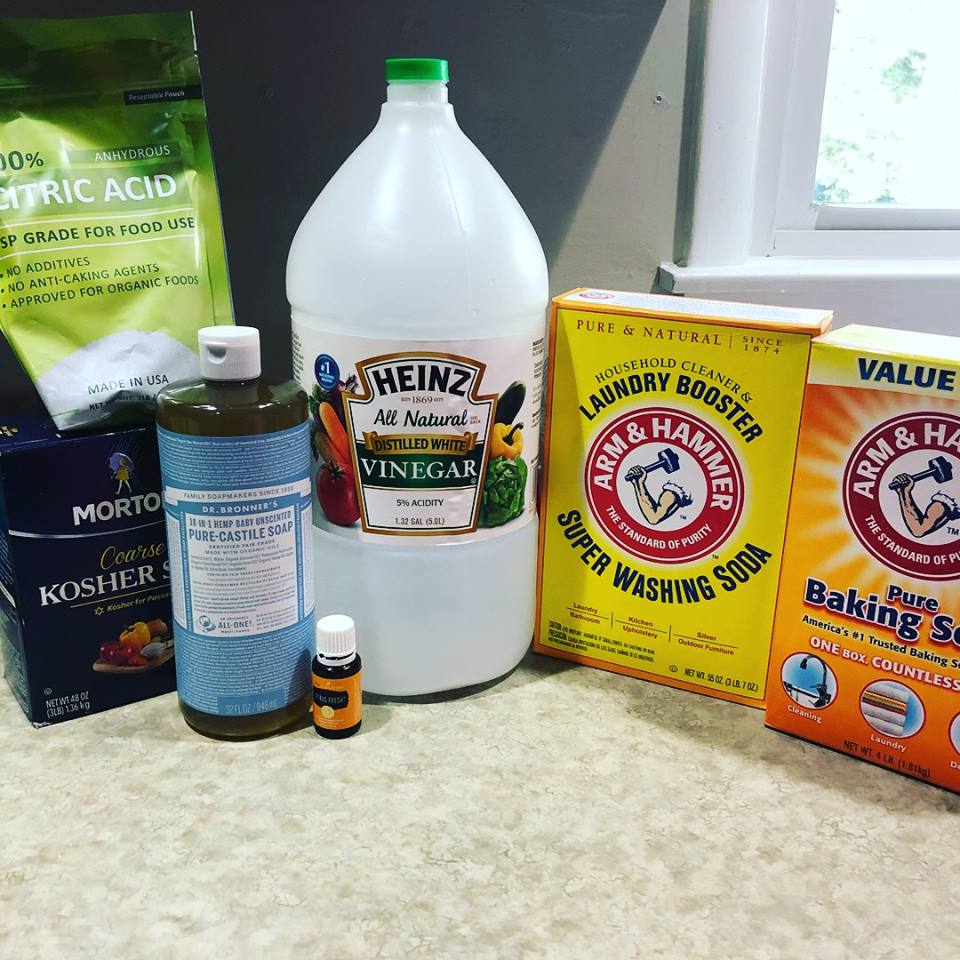
Here is a list of what you’ll need to make this Lemon Honey Sugar Scrub and face mask.
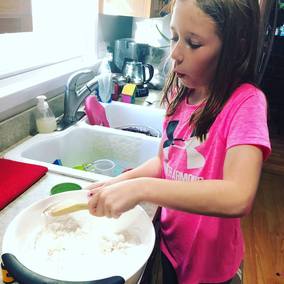
Add a 1/2 cup of Sugar to a glass bowl, pour in 1/4 cup olive oil, and mix with a fork. You can use more or less olive oil depending on the consistency you want. Add in a heaping TBSP of honey, half the juice of one lemon and mix well, again you can adjust how much honey and lemon juice you use, last add in 10 drops of lemon essential oil and mix. Then transfer to your airtight glass container! Voila, get ready for gorgeous luxurious feeling skin!!!
Here is a list of what you’ll need to make this Lemon Honey Sugar Scrub and face mask.
- Organic Cane Sugar – Sugar is a natural exfoliator, as well as a natural source of glycolic acid, which serves to even out skin tone, cleanse pores, and improves overall appearance by sloughing off dead skin cells.
- Organic or Non-GMO, Cold Processed Extra Virgin Olive Oil – (Did you know that the purest and best quality olives oil comes from California?) – Olive oil heals acne scarring, and is high in vitamin E which is soothing, moisturizing, and healing to the skin, as well as being high in antioxidants which prevents premature aging of the skin.
- Raw Organic Honey – (I recommend using raw honey because it contains natural antibacterial properties, enzymes, and probiotics that are good for the skin.) – The antibacterial properties benefit acne prone skin by reducing breakouts. Honey is a natural humectant so it locks water into the skin keeping the complexion hydrated. Also, a natural source of antioxidants which aids the skin from premature aging.
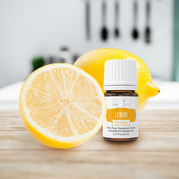
- One Organic Lemon – Lemon juice is incredibly beneficial to the skin. It helps to diminish scars and age spots, heal acne, exfoliate, and brighten your complexion.
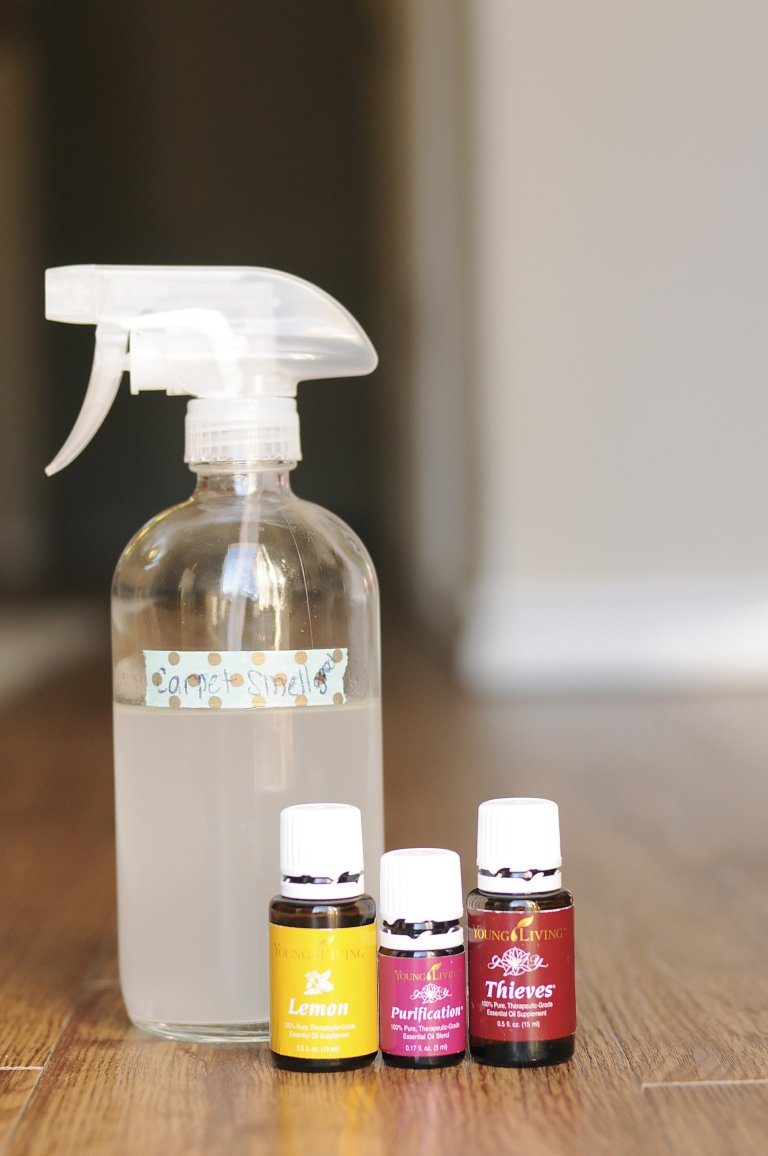
- Young Living Lemon Essential Oil – Is cold pressed from the lemon rind, it has a strong, purifying citrus scent which is revitalizing and uplifting. It does a good job of covering up the olive oil smell, which I’m not a big fan of. Don’t tell my italian relatives I said that ;). I chose this oil for more than its fragrance though. Young Living’s Lemon essential oil contains 68% d-limonene, a powerful antioxidant. Great for reducing wrinkles, minimizing sun and age spots, as well as combating acne. By combining this essential oil with the lemon juice you’re getting the benefits of the entire lemon.
- An Airtight Glass Container
Add a 1/2 cup of Sugar to a glass bowl, pour in 1/4 cup olive oil, and mix with a fork. You can use more or less olive oil depending on the consistency you want. Add in a heaping TBSP of honey, half the juice of one lemon and mix well, again you can adjust how much honey and lemon juice you use, last add in 10 drops of lemon essential oil and mix. Then transfer to your airtight glass container! Voila, get ready for gorgeous luxurious feeling skin!!!
Storage and Use
Store in an airtight glass jar and keep out of direct sunlight. Keep in the bathroom cabinet and use a clean spoon to scoop out.
For the Face:
Add a scoop to your palm and apply in a circular motion careful not to use too much pressure, let the scrub do the work. Leave it on for 5-10 minutes for a deep pore cleaning. Then I just wash off with warm water and pat dry. I would recommend using this at night and no more than three times a week.
For the Body:
Just rub a small amount all over in circular motions, great for rough spots like your feet, elbows, knees, and cuticles. You can also use this as a base for shaving to achieve the smoothest shave ever! Rinse with warm water and bask in your glowing silky soft skin!
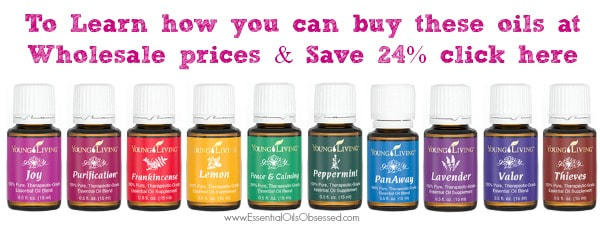
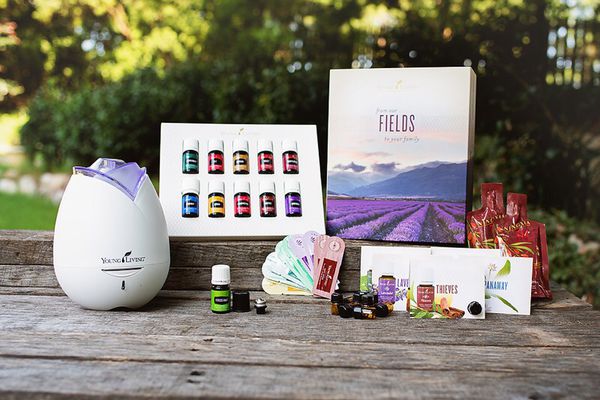
If you’re new to using essential oils and would like more information, I’m always happy to chat. PS, Lemon essential oil comes in the Premium Starter Kit, see below for more details on how you can save big and get started making the switch to a natural way of health and beauty!
Happy Oiling,
Store in an airtight glass jar and keep out of direct sunlight. Keep in the bathroom cabinet and use a clean spoon to scoop out.
For the Face:
Add a scoop to your palm and apply in a circular motion careful not to use too much pressure, let the scrub do the work. Leave it on for 5-10 minutes for a deep pore cleaning. Then I just wash off with warm water and pat dry. I would recommend using this at night and no more than three times a week.
For the Body:
Just rub a small amount all over in circular motions, great for rough spots like your feet, elbows, knees, and cuticles. You can also use this as a base for shaving to achieve the smoothest shave ever! Rinse with warm water and bask in your glowing silky soft skin!
If you’re new to using essential oils and would like more information, I’m always happy to chat. PS, Lemon essential oil comes in the Premium Starter Kit, see below for more details on how you can save big and get started making the switch to a natural way of health and beauty!
Happy Oiling,


 RSS Feed